Nanomatter - Building a lightweight Matter controller
Part 6 of the homelab series: building my own Matter controller to control my home devices.
I have two WiZ smart lamps in my apartment, both managed through Home Assistant. I can turn them on and off from a dashboard, set brightness, change color temperature etc. But I had no idea how any of it actually worked at the protocol level. I had specifically bought these lamps because I’d been wanting to learn Matter for a while and the time had finally come :)
The result is Nanomatter: a TypeScript service running on my homeserver (my Raspberry Pi) that talks to the lamps directly over the Matter protocol. No Home Assistant in the middle or proprietary bridge. Just my code issuing commands to the devices and getting state back.
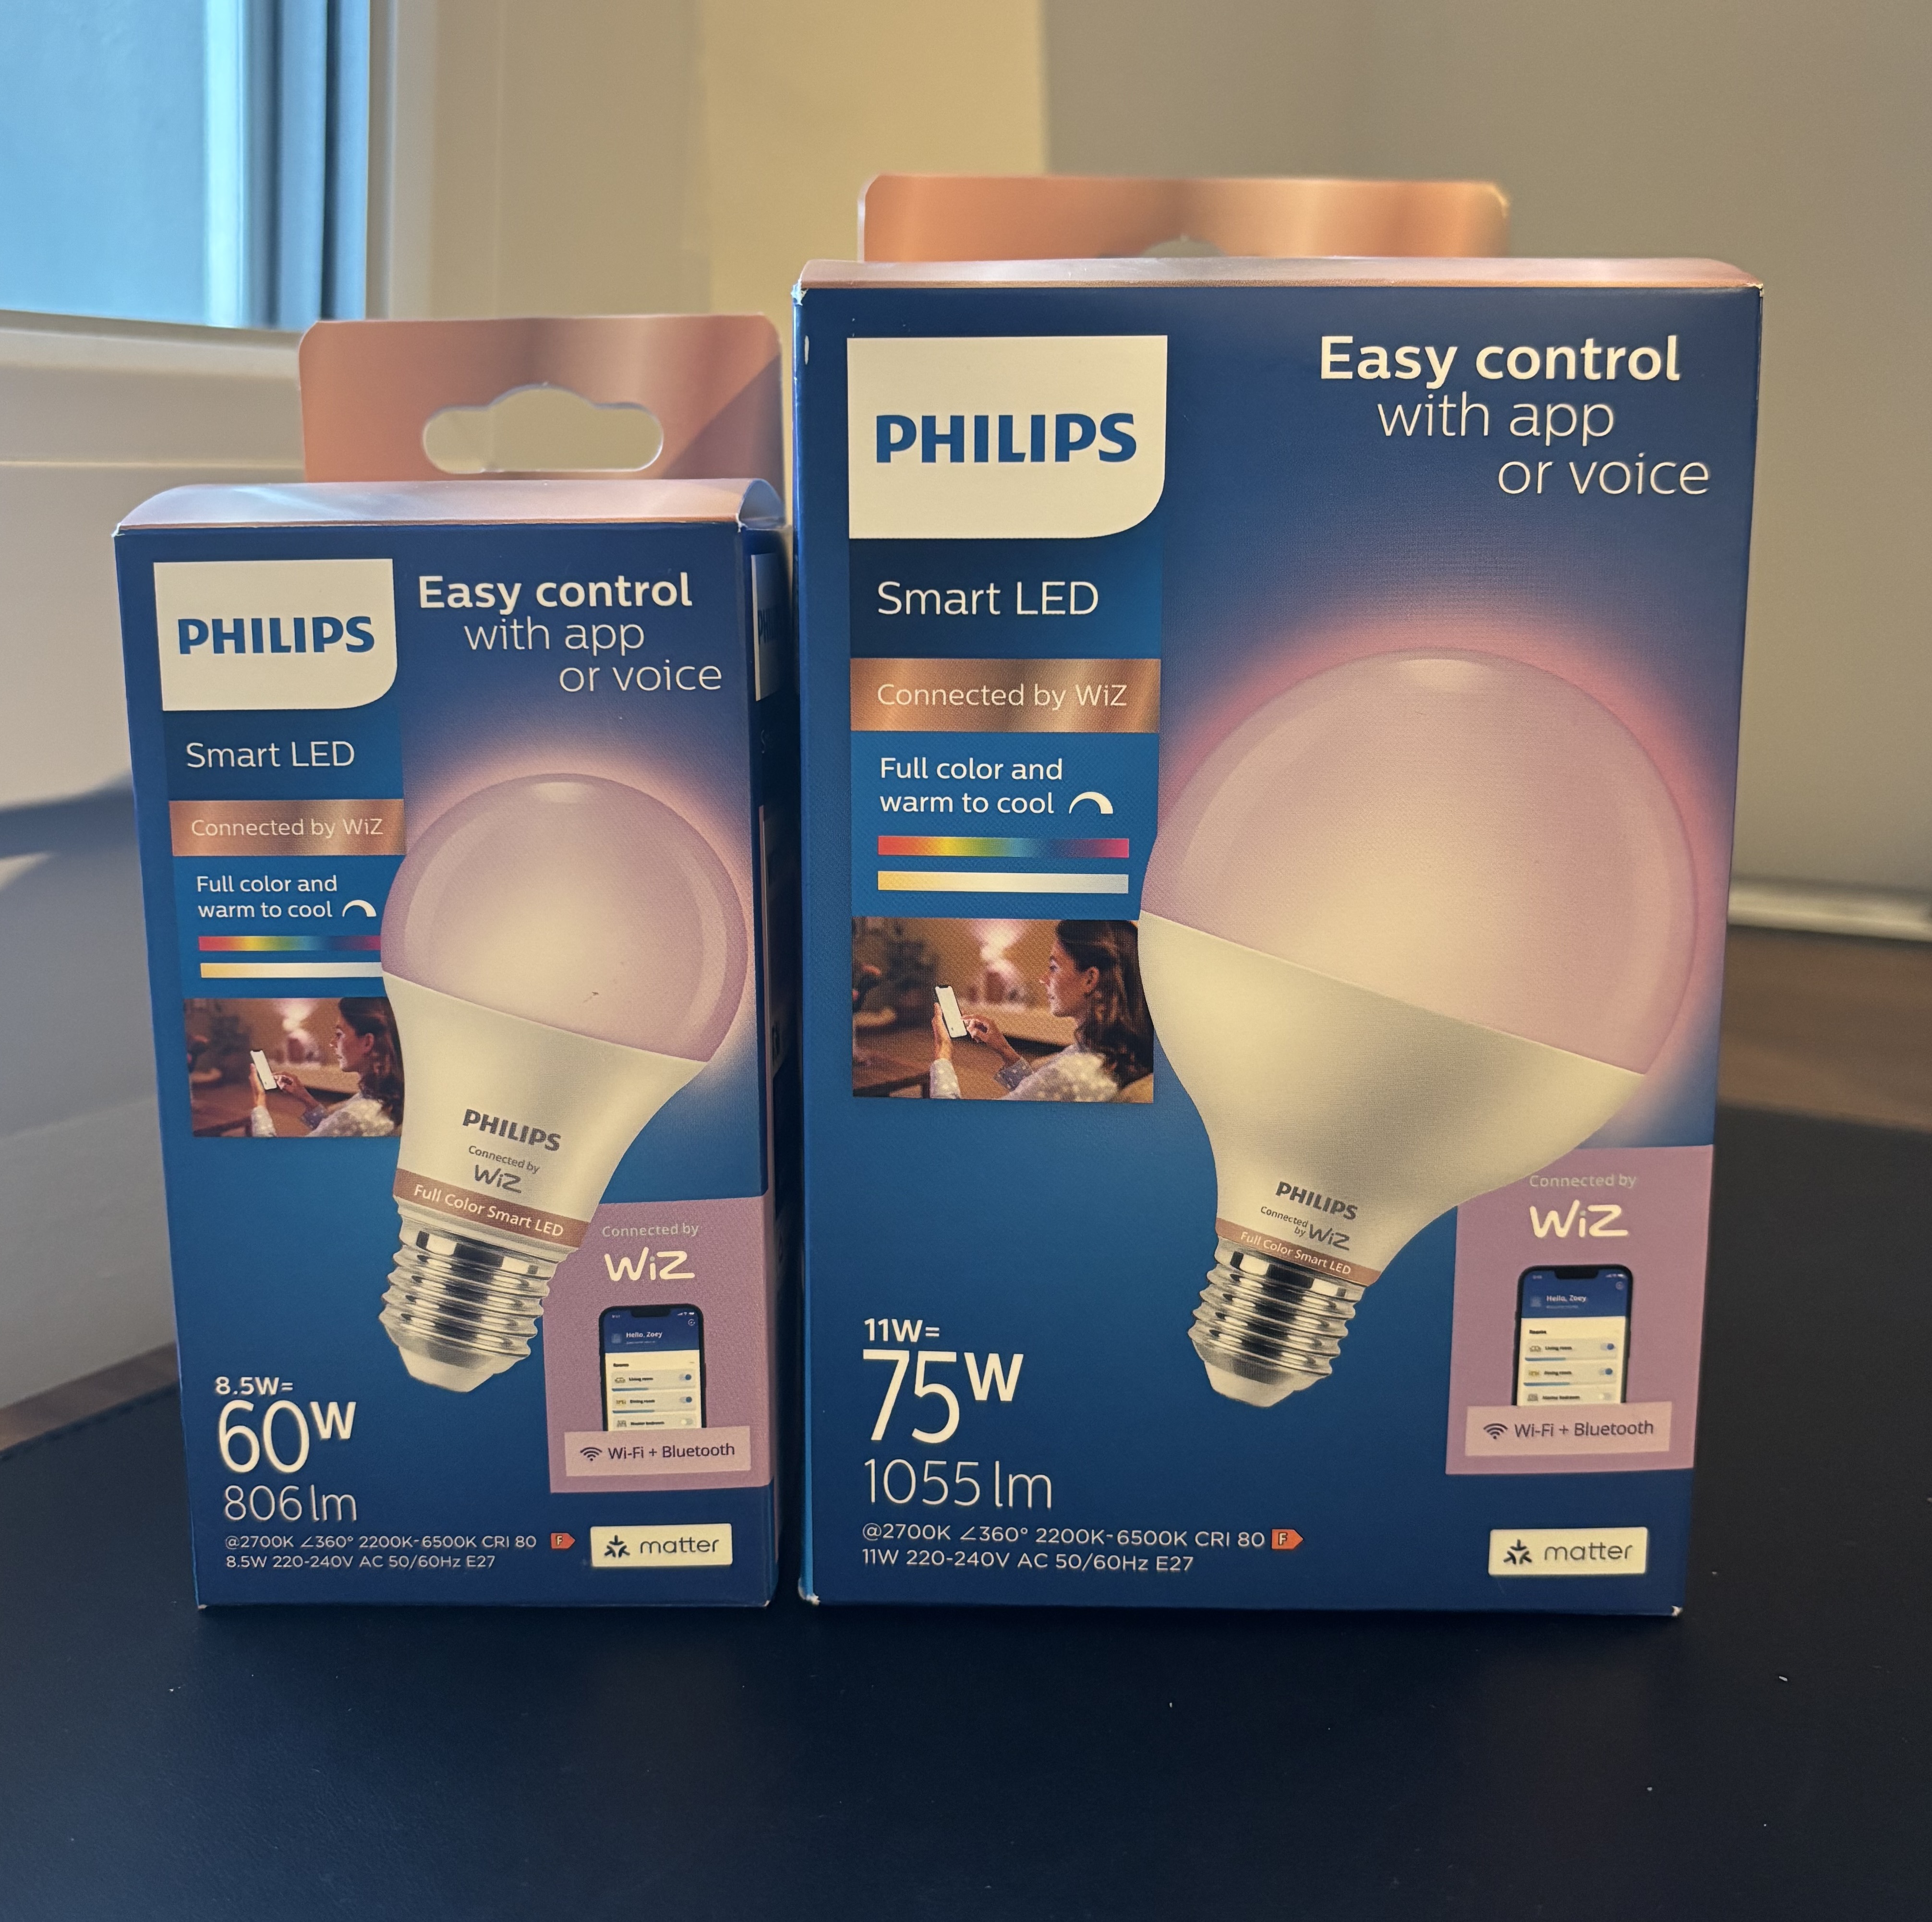
I bought these two Matter-powered WiZ lamps to use in my apartment 💡
What is Matter (super-summarized-version) #
Matter is an open smart home standard backed by pretty much everyone in the industry: Apple, Google, Amazon, Samsung. Matter devices communicate over your LAN using IP (Wi-Fi, Thread, Ethernet), which means low latency and no cloud dependency. Turn on a light and the command goes straight to the lamp, not to some external server and back.
The data model is hierarchical. At the top you have a Node: one physical device, like a lamp. Each node has one or more Endpoints: endpoint 0 is always the root (discovery, diagnostics), endpoint 1+ are the functional parts. Within each endpoint there are Clusters, which group related functionality: OnOff for turning things on and off, LevelControl for brightness (0–254), ColorControl for hue, saturation, and color temperature. Clusters expose Attributes (current state) and Commands (actions to invoke).
A concrete path looks like this: Node 5 → Endpoint 1 → OnOff cluster → toggle command. When my controller sends a toggle, that’s exactly the path it’s addressing.
Then there are Fabrics. A fabric is a trusted domain: a certificate authority plus all the devices and controllers it has commissioned. Each controller (Home Assistant, Nanomatter, Apple Home) lives on its own fabric or joins an existing one. The important thing is that a single device can belong to at least 5 fabrics simultaneously. A lamp can be on Home Assistant’s fabric and on Nanomatter’s fabric at the same time, with both controllers talking to it independently. This is called multi-admin.
Commissioning is the process of adding a device to a fabric. It involves PASE (Passcode-Authenticated Session Establishment), certificate exchange, and installing a Node Operational Certificate on the device. After commissioning, the device trusts your controller and you can talk to it directly.
Why multi-admin instead of replacing Home Assistant #
Multi-admin lets me add Nanomatter as a second controller without touching what HA has. I generate a one-time pairing code from Home Assistant’s UI (it opens a commissioning window on the lamp) and then use that code to commission the lamp to Nanomatter’s own fabric. After that, both controllers have full, independent access to the same physical device. They’re not sharing state or fighting over control, they’re both just talking directly to the lamp.
Architecture #
The controller is TypeScript with Express for the HTTP API. All Matter protocol interactions go through
matter.js
, which is a production-ready Matter implementation in Javascript. The service runs as a Docker container on the Raspberry Pi, and Traefik routes matter.kaoshome.dev/api to it.
The frontend isn’t part of this post - so far I’ve only written the controller part.
MatterService: the foundation #
The MatterService class wraps the matter.js CommissioningController. The whole thing is a lazy singleton — the controller initializes on first use:
export class MatterService {
  private controller: CommissioningController | null = null

  async getController(): Promise<CommissioningController> {
    if (!this.controller) {
      const environment = Environment.default

      this.controller = new CommissioningController({
        environment: { environment, id: "controller" },
        autoConnect: true,
        adminFabricLabel: "nanomatter",
      })

      await this.controller.start()
    }

    return this.controller
  }
}
Important things here:
autoConnect: truemeans matter.js automatically reconnects to all previously commissioned nodes when the controller starts. No manual re-pairing required on every container restart. The controller boots up, reads its persistent state, and reestablishes connections to every node it already knows about.adminFabricLabel: "nanomatter"sets the fabric label that identifies this controller on each commissioned device. If I check the lamp’s fabric list, it shows “nanomatter” alongside Home Assistant and Apple Home.
The environment reads MATTER_STORAGE_PATH from the process environment. Docker Compose sets that to /matter and mounts ./controller/matter-storage:/matter on the host:
services:
  controller:
    ...
    network_mode: host  # required for mDNS multicast
    volumes:
      - ./controller/matter-storage:/matter
    environment:
      - MATTER_STORAGE_PATH=/matter
This mounted directory is where matter.js persists everything: fabric certificates, commissioned node IDs, session keys. Without it, every container restart would lose all commissioned devices and I’d have to recommission from scratch.
Note that network_mode: host is mandatory! Matter uses mDNS multicast for operational device discovery, finding already-commissioned devices on the local network. Docker’s default bridge network doesn’t forward multicast traffic. The container has to share the host’s network stack to see multicast.
In index.ts, the HTTP server only starts after the Matter controller is fully initialized:
matterService.getController().then(() => {
  app.listen(port, () => {
    console.log(`Server is running at http://localhost:${port}`)
  })
})
This ensures getController() waits for matter.js to finish booting and reconnect to all known nodes before the server accepts any requests. If the server started before that was done, requests could arrive while the controller was still mid-initialization.
Commissioning: the hard part #
This is where I spent most of my time…
I started with the matter.js controller example from their repository . Sadly, none of the examples worked. Devices weren’t being discovered at all or were being discovered but the commissioning wouldn’t complete. My first assumption was that there was something wrong with my setup.
Commissioning would find the device but eventually fail. Different errors on different attempts. I had very long debugging sessions and nothing really worked. The examples in the repo make assumptions about the environment that don’t always hold, and there’s enough going on in the commissioning flow — PASE session, certificate exchange, credential provisioning — that when something breaks, it’s not obvious which step went wrong.
I also wasted time on a wrong assumption: I thought I had to factory reset the lamp and put it into pairing mode manually (the WiZ trick is turning the lamp on and off five times quickly until it blinks blue). I thought I had to do this because that’s what other apps had required so far. Turns out that’s completely unnecessary here. Home Assistant can generate a pairing code for any device it already manages: you just have to go to the device config page and click the “share device” button to generate a code. That’s all you need.
Huge thanks to Tomas McGuinness and his post on building a Matter controller with matter.js . Having a working implementation to compare against makes a significant difference when you’re debugging :)
The core commissionNode call looks like this:
const nodeId = await controller.commissionNode({
  passcode: pairingData.passcode,
  commissioning: {
    regulatoryLocation: GeneralCommissioning.RegulatoryLocationType.Indoor,
    regulatoryCountryCode: "XX",
  },
  discovery: {
    identifierData: {
      shortDiscriminator: pairingData.shortDiscriminator,
    },
  },
})
The pairing code encodes the passcode and a discriminator, which matter.js decodes with ManualPairingCodeCodec.decode. The discriminator narrows down which device on the network you’re trying to reach, which is useful if there are multiple devices in commissioning mode at once.
Commissioning is async and slow, taking up to 15 seconds. On a bad run it takes longer before failing. That’s a problem for a synchronous HTTP endpoint: the client would need to hold the connection open for the full duration, and any proxy or load balancer with a timeout would kill it.
The solution is a job-based API: POST /api/devices/commission validates the pairing code, creates a job ID, fires off the commissioning in the background, and immediately returns 202 Accepted with the jobId:
const jobId = uuidv4()
jobs.set(jobId, { status: 'pending' })
commissioningInProgress = true

;(async () => {
  try {
    const nodeId = await controller.commissionNode({ ... })
    jobs.set(jobId, { status: 'completed', nodeId: Number(nodeId) })
  } catch (err) {
    jobs.set(jobId, { status: 'failed', error: err.message })
  } finally {
    commissioningInProgress = false
  }
})()

res.status(202).json({ jobId })
The client then polls GET /api/devices/commission/:jobId to check the status. When the status is completed, the device is commissioned and ready. When it’s failed, there’s an error message.
The rest of the API #
Once commissioning works, the other endpoints are straightforward.
Getting device state — GET /api/devices and GET /api/devices/:id read from matter.js’s cache. No round-trip to the device. The cache is kept up to date through matter.js’s attribute subscription mechanism, so the data is fresh without needing to query each lamp on every request. The response includes everything: on/off state, brightness level, color mode, color temperature, hue, and saturation.
{
  "devices": [
    {
      "id": 1,
      "name": "WiZ A.E27",
      "reachable": true,
      "on": true,
      "brightness": 254,
      "colorMode": 2,
      "colorTemperature": 370,
      "hue": 36,
      "saturation": 44
    }
  ]
}
On / Off / Toggle — These all go through the OnOff cluster. toggle() reads the live current state first (not from cache), then flips it. All device commands are wrapped in withTimeout(5000) — lamps can be off, unplugged, or just temporarily unreachable, and I didn’t want the server hanging indefinitely waiting for a response.
const withTimeout = <T>(promise: Promise<T>, ms: number): Promise<T> => {
  const timeout = new Promise<never>((_, reject) =>
    setTimeout(() => reject(new Error('Device timed out')), ms)
  )
  return Promise.race([promise, timeout])
}
Brightness — LevelControl.moveToLevelWithOnOff. Level is 0–254. The transitionTime parameter is optional (defaults to 1 second) and controls how long the lamp takes to fade to the new brightness.
Color — The ColorControl cluster supports two modes. You can set color temperature in Mireds (colorTemperatureMireds: lower values are cooler/bluer, higher values are warmer/yellower), or you can set hue and saturation (both 0–254). The endpoint checks which parameters are provided and calls the appropriate Matter command:
if (hasColorTemp) {
  await color.moveToColorTemperature({ colorTemperatureMireds, transitionTime, ... })
} else {
  await color.moveToHueAndSaturation({ hue, saturation, transitionTime, ... })
}
Decommissioning — node.decommission() sends OperationalCredentials.RemoveFabric to the device, which cleanly removes Nanomatter’s fabric entry from it. If the device is unreachable (lamp is off or out of range), the call throws and we fall back to controller.removeNode(nodeId, false), which removes the node from the controller’s local state without contacting the device. The device keeps Nanomatter’s fabric entry but you can clean that up later when it’s reachable again.
try {
  await node.decommission()
} catch {
  // Device unreachable, remove locally anyway
  await controller.removeNode(nodeId, false)
}
Where we are #
The controller is running on the Pi. Both lamps are commissioned to Nanomatter’s fabric and fully controllable via HTTP. Home Assistant controls them independently on its own fabric. Multi-admin works!
The full API:
GET    /api/devices                     → all commissioned devices + state
GET    /api/devices/:id                 → single device state
POST   /api/devices/commission          → start commissioning (returns jobId)
GET    /api/devices/commission/:jobId   → poll commissioning status
POST   /api/devices/:id/on              → turn on
POST   /api/devices/:id/off             → turn off
POST   /api/devices/:id/toggle          → toggle
POST   /api/devices/:id/brightness      → set brightness (0–254)
POST   /api/devices/:id/color           → set color (CT or hue/saturation)
DELETE /api/devices/:id                 → decommission
All the code can be found on my github: gabrielaleks/nanomatter
References #
- matter.js — the Matter implementation this controller is built on
- Tomas McGuinness — Creating a Matter controller with matter.js — the post that finally unblocked commissioning
- Matter primer - Google Home Developers — best introduction to the data model
- Silicon Labs Matter fundamentals — deeper protocol-level reading
- Home Assistant - Matter - Home Assistant’s Matter documentation